So, Chloe’s Rapunzel dress was trickier than I thought it would be. I struggled with almost all of it but the good news is while it has many imperfections, Chloe doesn’t care. And while it’s not the most professional looking project I have done it will work wonderful for Halloween and dress up play. After a while I got so frustrated I stopped taking pictures because I kept having to undo my work because it was not right. So please excuse the lack of pictures and check out the tutorials linked below for how I should have done it.
In my research ahead of sewing I found a tutorial over at Make It and Love It, but I just used it for ideas. What I should have done was follow it, and saved myself a lot of frustration. I also used tutorials at Made. I used her puff sleeve tutorial and the circle skirt tutorial. The circle skirt tutorial is awesome and I have used it several times and it always turns out great.
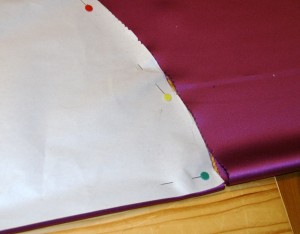
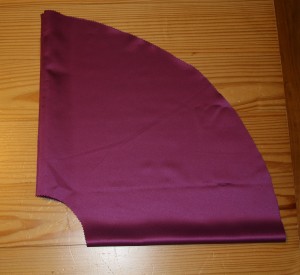
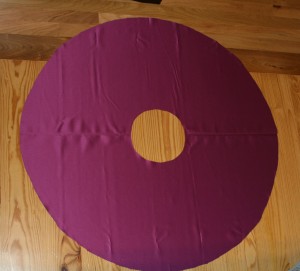
Anyway, let’s get started! We left off at drafting our pattern pieces. Next step is to start cutting. I laid my pattern pieces on top of my materials and cut them all out. I just have pictures of the circle skirt being cut out, but now is the time to cut everything.
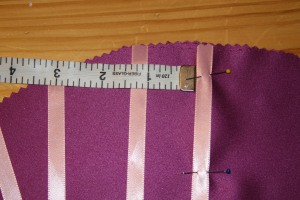
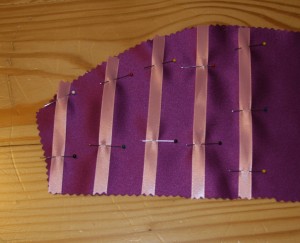
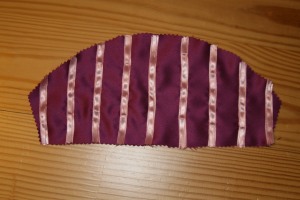
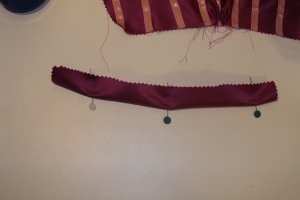
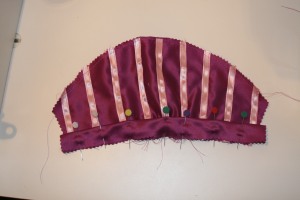
I next assembled my sleeves. I attached my ribbon to the sleeve, starting in the middle and then spaced them out 1 inch apart. I did this to both sleeves. Then I sewed the ribbon on as close to the edge as I could manage and on both sides of the ribbon for extra security.
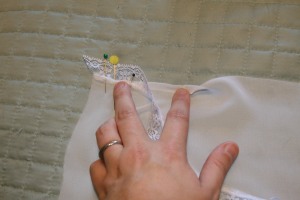
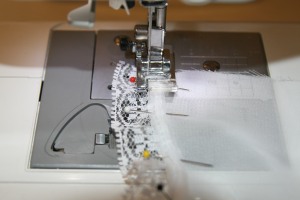
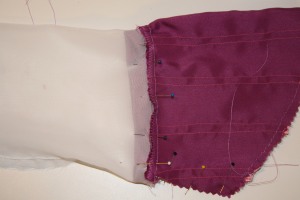
Next I worked on the sheer part of the sleeves. I pinned the lace on while folding the sheer down about 1/2 inch as I pinned. I then sewed the lace on with a zig zag stitch. After I finished the sheer part of the sleeve I attached the bottom hem to the puff sleeve following the tutorial at Made, which I linked above.
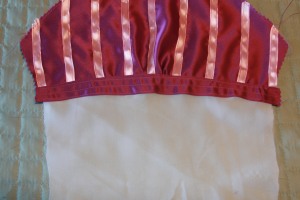
Next I finished off the sleeves by adding the puckers which give it the puffed up appearance, and added the sheer sleeves. Now I would like you all to think I did it just like that, but I made so many mistakes on the sleeves, I had to stop and pick it back up a couple days later. In the end this is the order I should have done things to save myself the frustration.
Now it’s time to leave the sleeves alone and start on the bodice. I originally planned on the bodice being unlined, but changed my mind after I cut everything out so I needed to cut more out and figure out how to line it. I also struggled with this and almost gave up and went to the store to buy her a costume instead. But I persevered and it paid off.
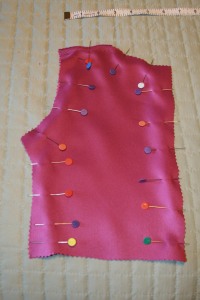
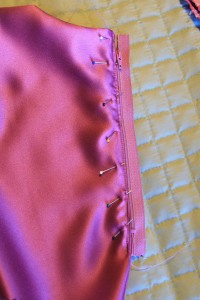
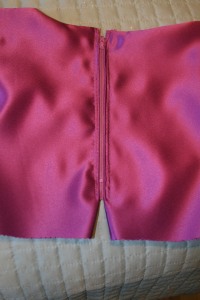
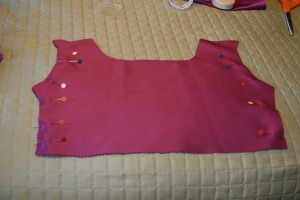
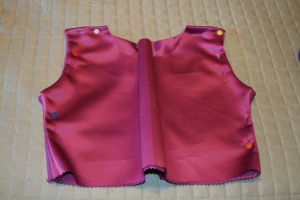
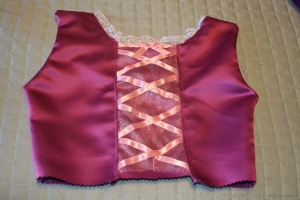
I took the two pieces that make up the back and placed them right sides facing and sewed them all around except the bottom. I left the bottom open so I could flip them right side out. After I got the two pieces together for the back, I then added the zipper. I then took my front part of then bodice and repeated the same steps with right sides facing and turned it right side out.
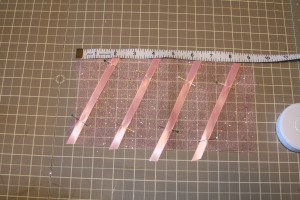
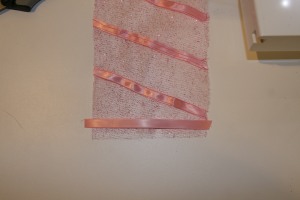
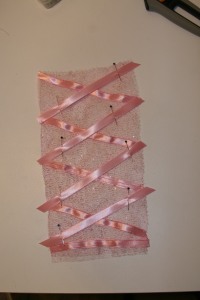
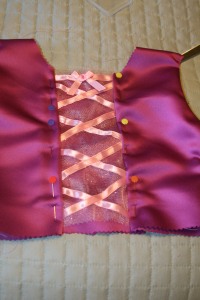
Next I started the detailed work for the bodice. I took my tulle and made it a double thickness for more sparkle. (What little girl doesn’t love more sparkle!) Then I laid the ribbon out on the tulle every two inches or so on a slight angle, and sewed them down just like on the sleeves. Then I laid the ribbon straight across the bottom edge and sewed it down. Then I laid the ribbon on the opposite angle about 2 inches apart, pinned, and sewed them down. Next step, pretend I have a picture of a little bow of ribbon that is sewn down to the straight across piece of ribbon in the center.
Next, I needed to sew in the detail work. I pinned the front bodice piece to the back bodice piece, lining up all the edges. This was just temporary so I could figure out how much to fold over on each side to create a place to insert the detail work. I then placed in the detail work and pinned it down to the front of the bodice and then removed the back bodice and then sewed the detail work in on each side. After the detail work was in, I then attached the lace to the front neckline.
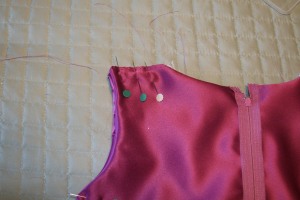
Now comes time to attach the sleeves and I also had a huge problem attaching the sleeves. I finally figured out the right way and that is what I am going to share with you now. Due to the frustrations I stopped taking pictures here. The last assembly picture I have is the next step. Place the bodice pieces together right sides facing, then pin and sew the shoulders together. Now pretend there are pictures here, but now is the time to pin the sleeves to the arm hole adjusting the gather stitch to add puff to the sleeve and make it fit the opening, then also pin the sheer parts of the sleeve together. Begin sewing at the lace on the end of the sleeve, sew all the way through the sheer part, the sleeve part, and then down the sides of the bodice joining them together.
Now the bodice and sleeves should be all together. Again, pretend there are pictures of me hemming the circle skirt around the bottom edge and then sewing on the lace around the bottom. I then put a gather stitch around the top of the skirt and pulled it in until it fits the bodice. Once it matches up, pin the skirt to the bodice and sew together. It’s now time to dance a little happy dance, and get a high five from your husband.* (this step is optional but after all it took to make, I felt a little celebration was needed!)
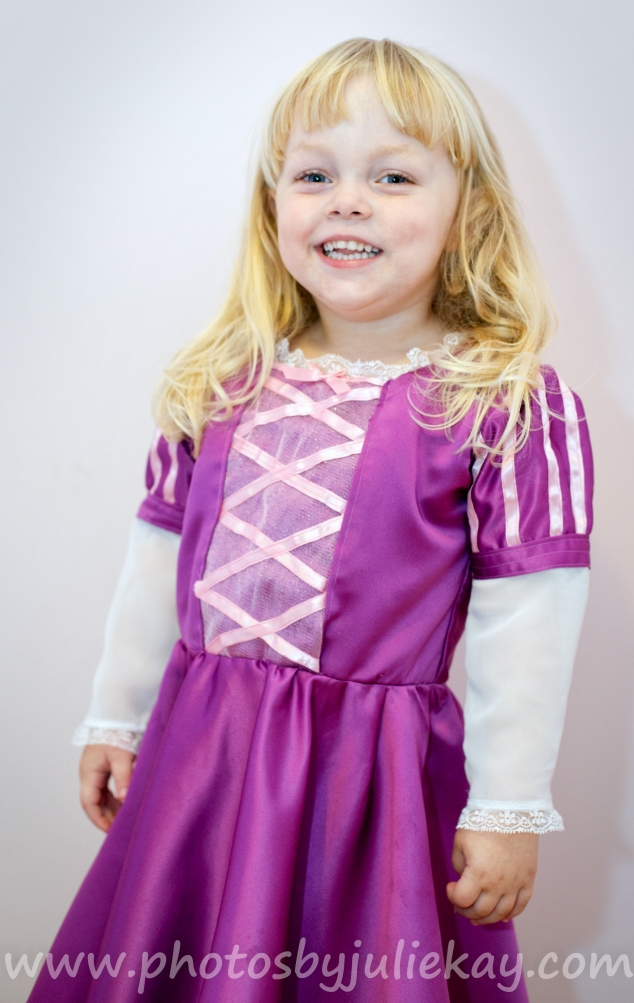
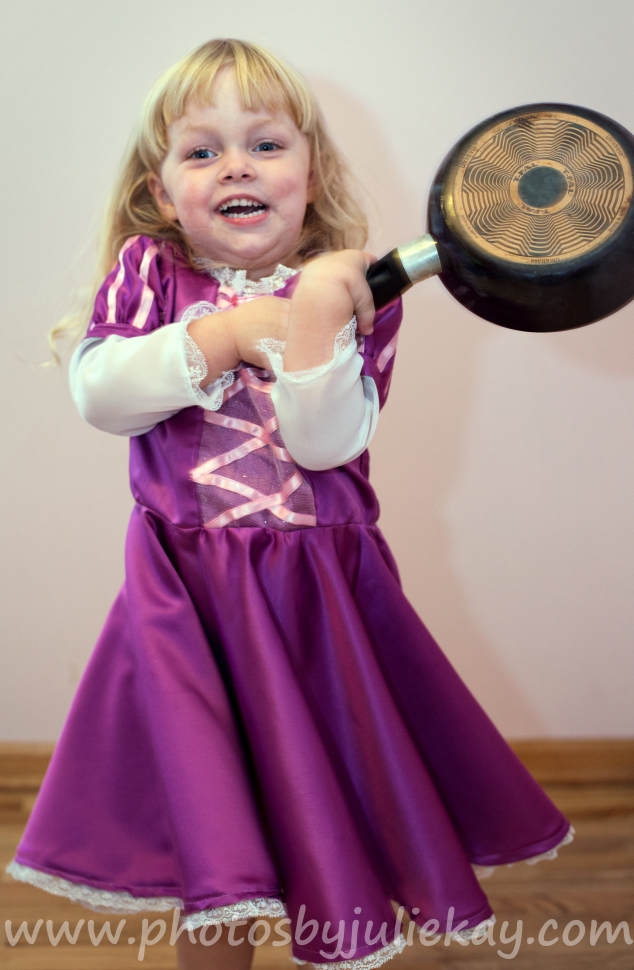
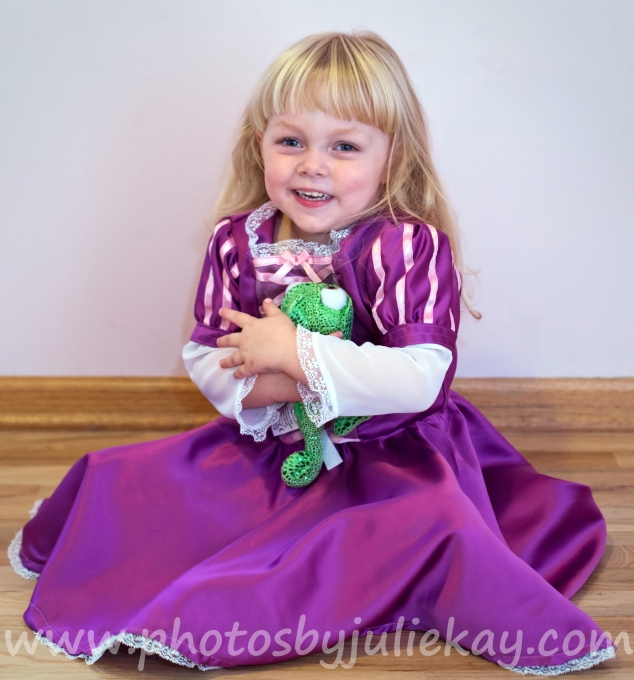
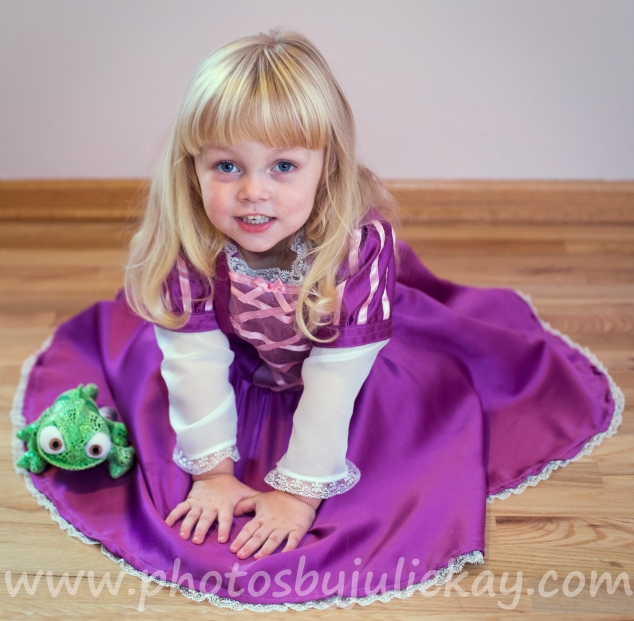
I checked how it fit as I went and had to make a few adjustments here and there but I didn’t want to tear it all apart after finishing just getting the fit right. So now I have a super cute Rapunzel dress, and a very happy Chloe. After ironing it out, I retrieved her accessories for her costume. Number 1, a frying pan! Number 2, Pascal!
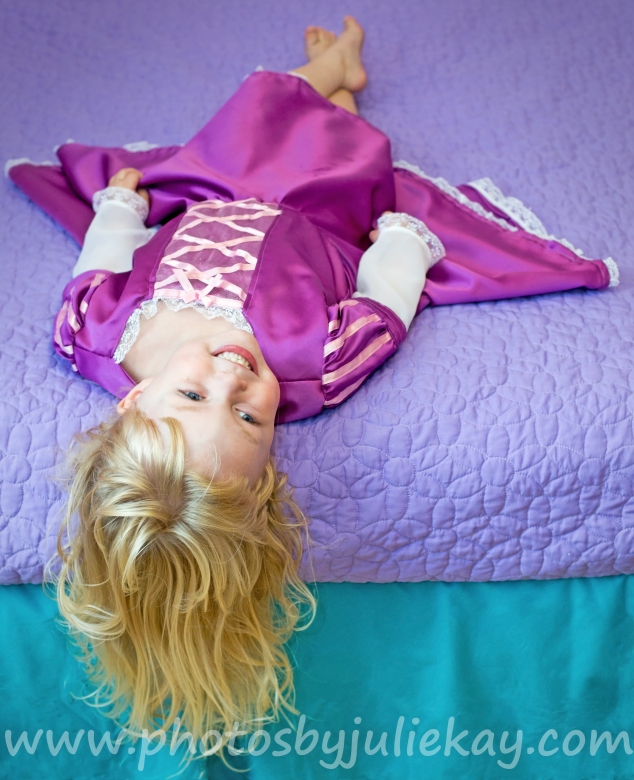
Now I usually take the pictures of the finished product but since I was so burned out on this project, I asked my friend, Julie of Photography by Julie Kay, to help me out. She is a fantastic photographer, her work is always so good, and she really understands what it takes to get that perfect shot when working with kids. Without further ado, here is Rapunzel and her long blonde hair!

